This is worthy of a post because this is without a doubt, the most convoluted packaging process for custom options on an app I’ve ever dealt with.
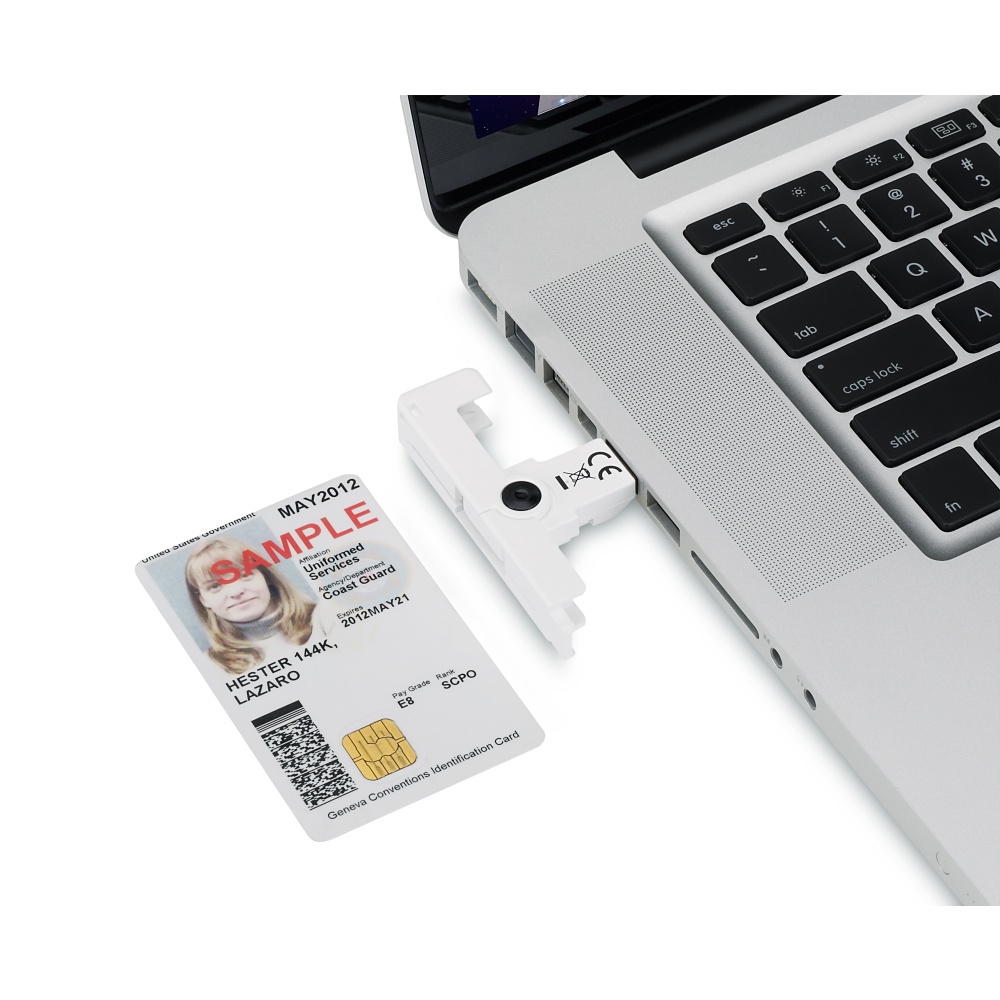
Gemalto makes many security tools, but in this case I just want to use their Safenet middleware drivers for macOS. This is supplied as a standard macOS pkg and will install just fine, but if you wish to customise the options then life suddenly starts being far less fun. The reason for this will become clear as you go through the administrator guide. Since this is licensed software, I won’t be posting a copy of anything infringing here.
First off, create a brand new blank macOS virtual machine and take a snapshot. You’ll thank me later if you have to redo any of this. Open up the .iso file that you got from Gemalto’s support portal and at time of writing this is version 10.1. It will look like this:
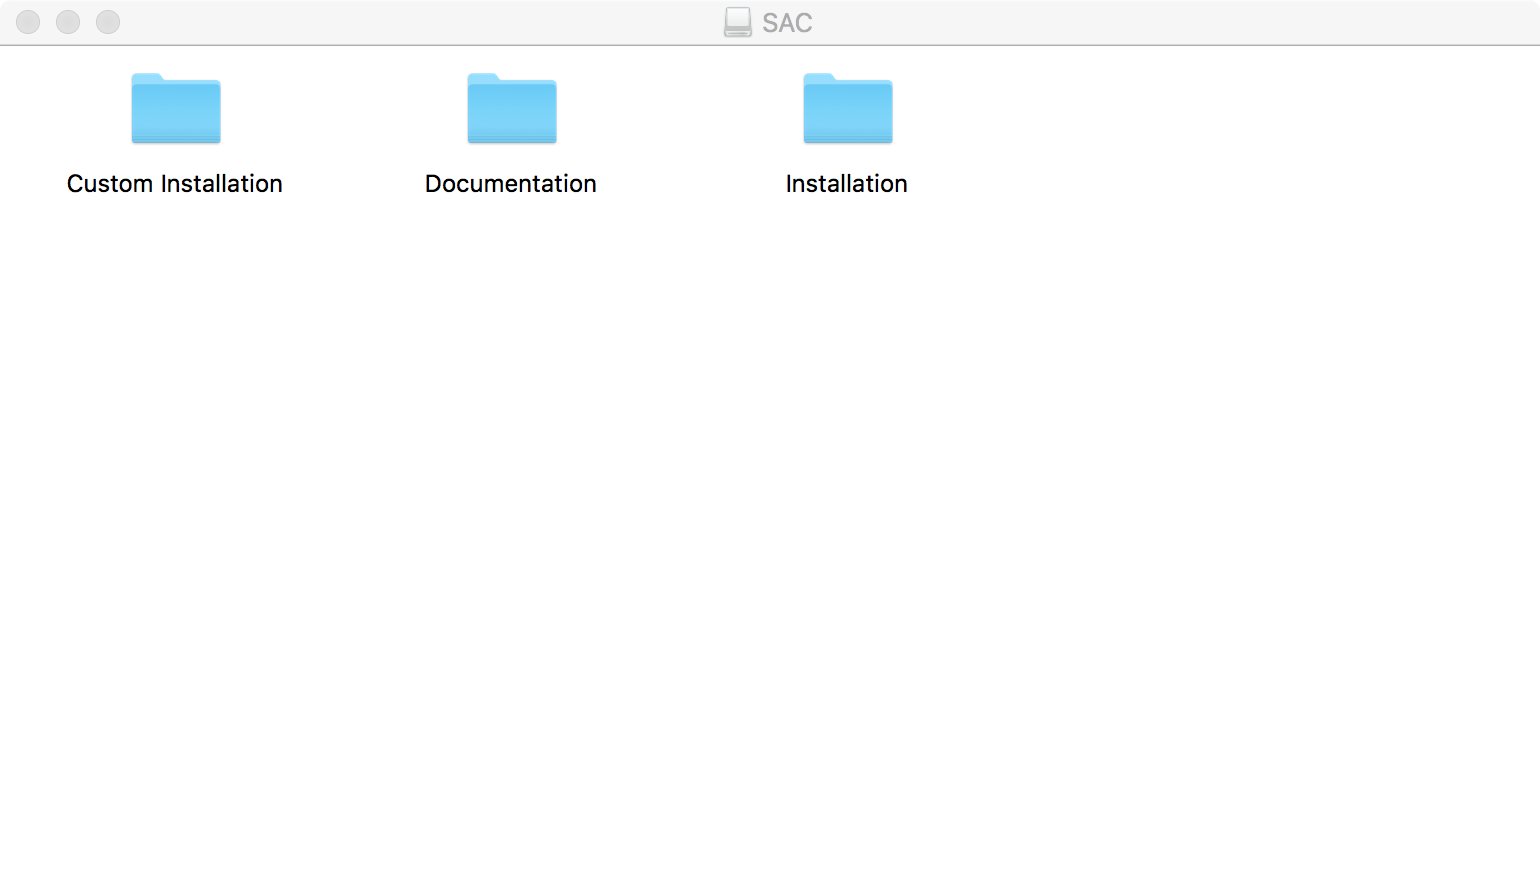
You should copy all of these folders to your new virtual machine. Inside the Installation folder is a .dmg file containing the smart card middleware installation pkg. You should install this on your virtual machine now.
Take the time to make sure your virtual machine’s usb settings have been downgraded to USB 2 only. There can be major system instabilities if you do not!
Ok driver installed, restarted once. Now we can proceed with customisation. You’ll want the administrator guide on one side from the Documentation folder, and the CustomInstallation folder on the other. This folder looks like this:
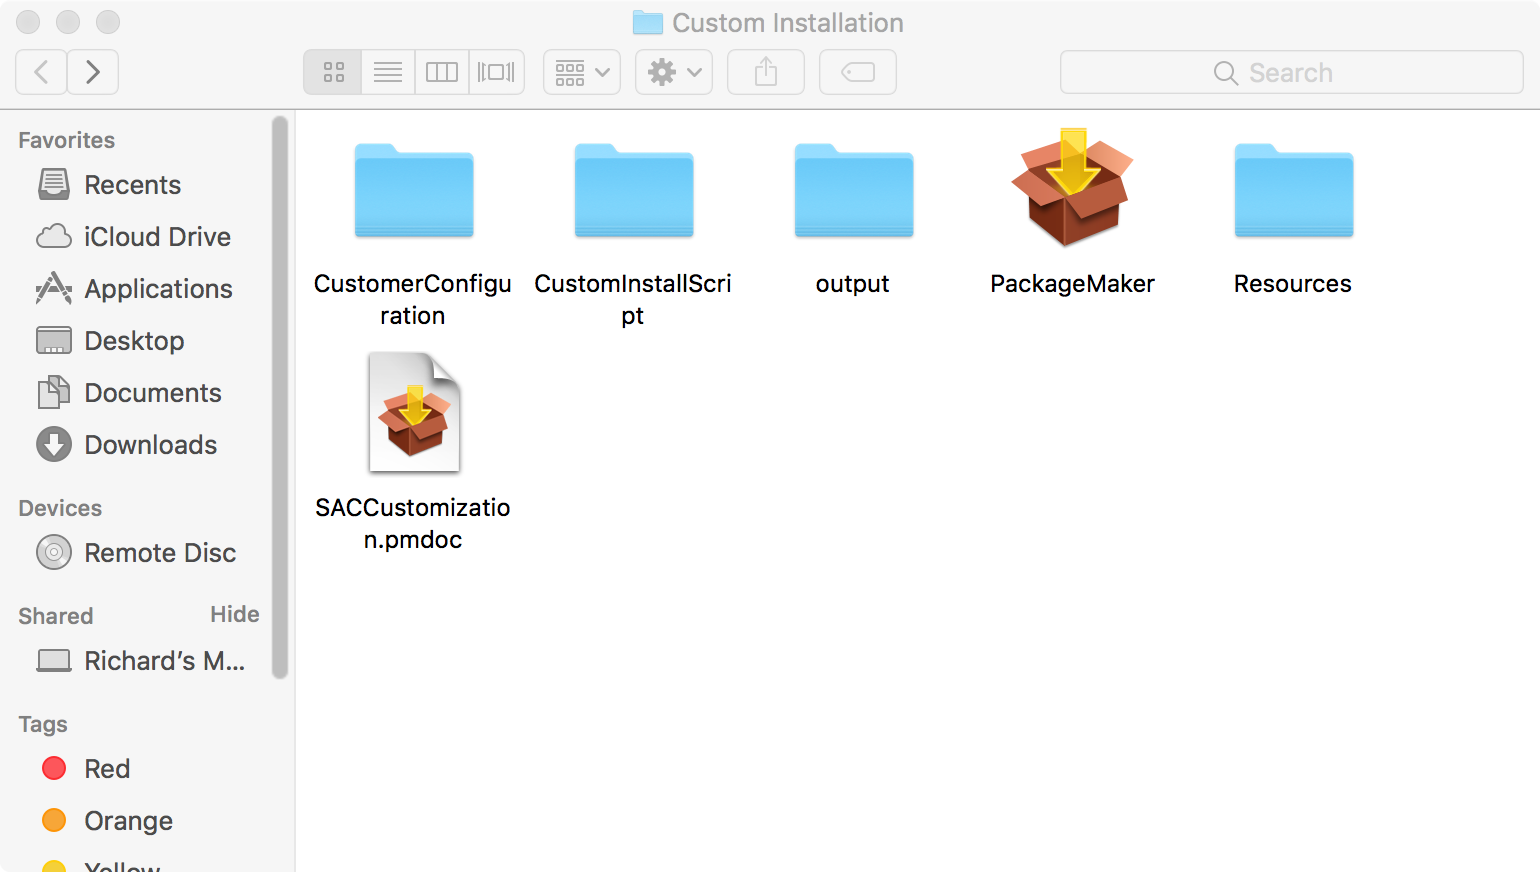
We need to leave most of this alone. Instead open up the CustomerConfiguration folder and with your favourite text editor open up both files inside here. Yes, this is where we configure things.
Now I have to stop and make a giant point here. This is a very unix way of doing things: all the configuration is in text files. Gemalto if you’re reading this, this isn’t a good way of doing things on a Mac. Look at reading standard macOS plist files / configuration profiles please. We’re increasingly configuring via MDM, please embrace this.
There’s two files. The first is called “SacLicense.lic” and this is where you put your customer license details. No screenshots this time, it should end up looking something like this:
License=Your Key Goes HereNow it’s time to configure the other file “eToken.conf” and again it’s in the same format. Apologies for the large block of text that follows, but this shows every single option in it’s default setting. My advise to you would be to only include the lines you are changing from default, if only to keep the size of the file down to manageable limits.
[General]
MultiSlotSupport=1
SoftwareSlots=2
PcscSlots=8
HIDSlots=4
LegacyManufacturerName=0
EnablePrvCache=1
TolerantFinalize=0
TolerantX509Attributes=0
TolerantFindObjects=0
EtvLogoffUnplug=0
SensitiveSecret=0
CacheMarkerTimeout=0
NonRepudiationOID=
IgnoreSilentMode=0

[SyncPin]
Domain=

[INIT]
UserMaxRetry=15
AdminMaxRetry=15
Legacy-Format-Version=5
RSA-2048=0
HMAC-SHA1=1
RSA-Area-Size=
DefaultLabel=My Token
KeepTokenInit=1
Certification=1
PrvCachingMode=0
PrvCachingModify=0
PrvCachingOwner=0
2ndAuthMode=0
2ndAuthModify=0
LinkMode=0

[AccessControl]
AdvancedView=1
RenameToken=1
ChangePassword=1
UnlockEtoken=1
ClearEToken=1
ViewTokenInfo=1
DisconnectVirtual=1
ShowHelp=1
OpenAdvancedView=1
ManageReaders=1
AddeTokenVirtual=1
InitializeEToken=1
ImportCertificate=1
ClearDefaultCert=1
DeleteCertificate=1
ExportCertificate=1
CopyCertificateData=1
SetCertificateAsDefault=1
SetCertificateAsAuxilary=1
LoginAsAdministrator=1
ChangeAdministratorPassword=1
SetUserPassword=1
AllowChangeUserMaxRetry=1
AllowChangeAdminMaxRetry=1
OpenAdvancedModeOfInitialize=1
ChangeInitializationKeyDuringInitialize=1
CommonCriteriaPasswordSetting=1
TrayIconUnlockEtoken=1
GenerateOTP=1
TrayIconClearEToken=0
TrayIconChangePassword=1
SwitcheToken=1
SyncDomainAndTokenPass=1
OpeneTokenProperties=1
About=
IdentrusChangePassword=1
IdentrusUnlock=1
DeleteDataObject=1
AllowOneFactor=1
VerisignSerialNumber=1

[InitApp]
DefaultUserPassword=1234567890
MustChangePasswordEnabled=1
MustChangePassword=1
PrivateDataCaching=0
RSASecondaryAuthenticationMode=0
ReadLabelFromToken=1
NumOfCertificatesWith1024Keys_help=0
NumOfCertificatesWith2048Keys_help=4

[UI]
UseDefaultPassword=0
PasswordTerm=Password
ShowDecimalSerial=0
ShowInTray=1
ShowBalloonEvents=0
IKeyLEDOn=1
AllowLogsControl=1
HomeUrl=https://safenet.gemalto.net
AnywhereExtendedMode=1
CertificateExpiryAlert=1
IgnoreExpiredCertificates=0
UpdateAlertMinInterval=14
ExpiryAlertPeriodStart=30
AlertTitle=SafeNet Authentication Client
FutureAlertMessage=A certificate on your token expires in $EXPIRE_IN_DAYS days.
PastAlertMessage=Update your token now.
AlertMessageClickAction=0
ActionDetailedMEssage=
ActionWebSiteURL=
NotifyPasswordExpiration=1
VirtualKeyboardOn=0
PasswordPolicyInstructions=
DefInitMode=0
ImportCertChain=0

[PQ]
pqMinLen=6
pwMaxLen=16
pqMaxAge=0
pqMinAge=0
pqWarnPeriod=0
pqHistorySize=10
pqMaxRepeated=3
pqMixChars=1
pqMixLevel=0
pqNumbers=0
pqUpperCase=0
pqLowerCase=0
pqSpecial=0
pqCheckInit=0
pqOwner=1
pqModifiable=1

[Crypto]
Key-Management-Security=Compatible
Disable-Crypto=None

[Log]
Enabled=0
Days=1
MaxFileSize=2000000
TotalMaxSizeMB=0
ManageTimeInterval=60
So what have we done here? We’ve created two files with all the customisation for the original package that we wanted. To get this in a form we can deal with, Gemalto has provided a script in the CustomInstallScript folder called “createSacCustomInstallation”.

Run that as a standard user, and it will not appear to do much. However a brand new .mpkg with your customisations will now appear in the Output folder.
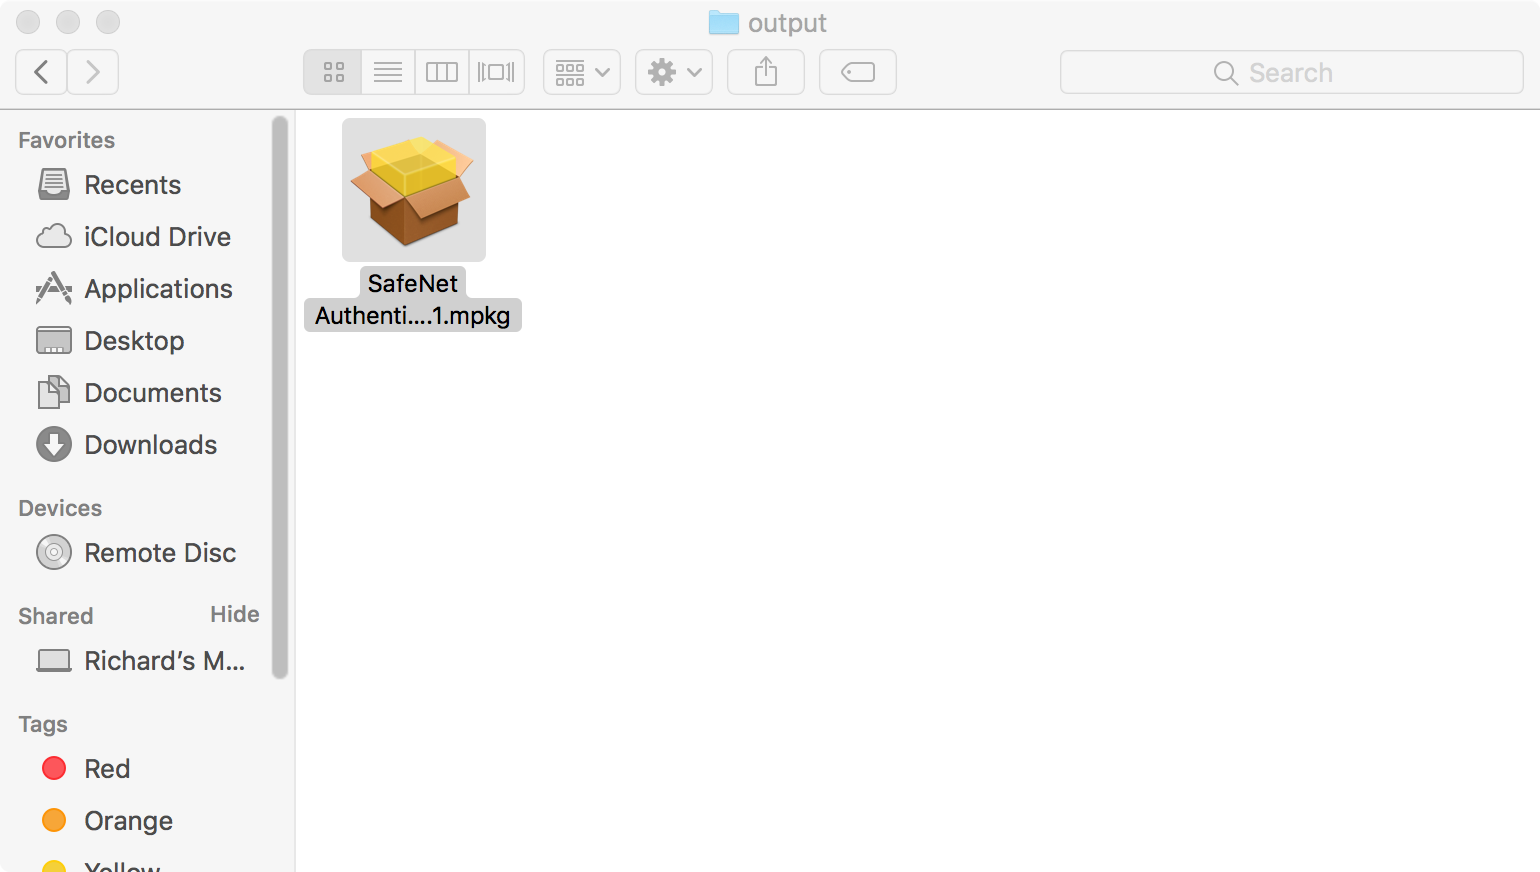
This you must now take, and install AFTER the original Gemalto supplied pkg has installed. By the way, why did we have to install the drivers on this VM before? Well this custom package script won’t run without them. Not entirely sure why, but it’s a requirement.
As mentioned before, I cheerfully wasted a morning experimenting with this especially the eToken.conf file layout as the administration guide gives you a list of options but doesn’t tell you how to put them in the file! I do the hard work so you don’t have to.
The lack of a macOS compliant way of setting and reading preferences is problematic for me. Every time I need to make a change, I have to repackage and redeploy? I could do this via MDM and be done in half the time. Well, regardless it works for now but remember to keep an eye out as these options could change between release versions.
And finally after all this, this is the point where I find out that the ShowInTray=0 option doesn’t work …